 Save to Pinterest
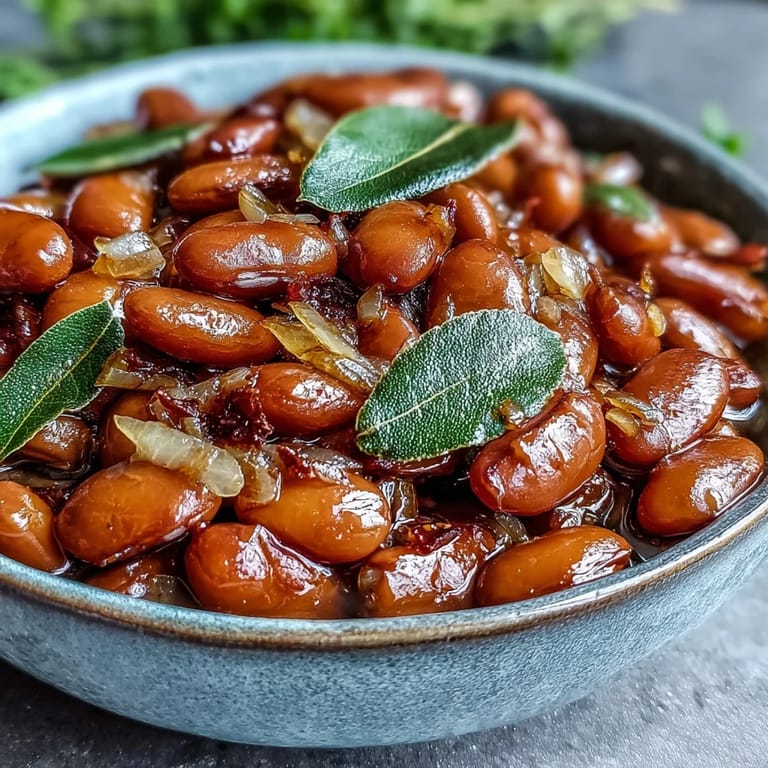
 My grandmother never measured anything when she made beans, just dumped them in her speckled blue pot with a glug of oil and whatever onion was sitting on the counter. I spent years trying to decode her method, watching how the bubbles would break the surface, slow and steady, until the kitchen smelled like comfort itself. These pinto beans are the closest I've come to capturing that magic—simple, unpretentious, and impossibly creamy without any heavy cream or butter involved.
Last winter, during that stretch where it seemed like everyone in my life was getting sick, I made a triple batch of these beans. My neighbor came over with her toddler, both of them looking exhausted, and I just set a bowl of warm beans on the table with some torn tortillas. The way that child's face lit up after the first bite—like she'd never tasted anything so good—reminded me why I bother with long-simmered dishes when instant everything is so much easier.
Ingredients
- 1 pound dried pinto beans: Rinse them well and pick through for any small stones or shriveled beans that won't soften properly
- ½ medium yellow onion, finely diced: Keep the pieces small so they melt into the beans as they cook, becoming part of the creamy broth
- 2 teaspoons garlic, minced: Fresh garlic makes a difference here, adding a mellow backbone rather than sharp bites
- 2 bay leaves: These add an earthy depth that people notice but can never quite identify
- ⅓ cup extra-virgin olive oil: This amount might seem generous, but it's what transforms the cooking liquid into something velvety and rich
- 4 cups cold water: Cold water helps the beans cook evenly, and having extra on hand means you can top it off as needed
- 1 tablespoon kosher salt: Adding salt at the end prevents the beans from toughening up during the long cook
Tired of Takeout? 🥡
Get 10 meals you can make faster than delivery arrives. Seriously.
One email. No spam. Unsubscribe anytime.
Instructions
- Soak the beans overnight:
- Place the rinsed beans in a large bowl and cover with 2 to 3 inches of cold water, letting them rest at room temperature for 8 to 24 hours until they've plumped up.
- Start the pot:
- Drain and rinse the soaked beans thoroughly, then transfer them to a medium Dutch oven or heavy-bottomed pot along with the 4 cups of cold water, diced onion, minced garlic, bay leaves, and olive oil.
- Bring everything to a boil:
- Set the pot over medium-high heat and bring it to a boil, skimming off any foam that rises to the surface with a large spoon.
- Simmer slowly:
- Reduce the heat to medium-low and let the beans simmer gently, uncovered, for 1½ to 2 hours, stirring occasionally and adding more water if needed to keep the beans submerged.
- Season and finish:
- Stir in the salt during the last 10 minutes of cooking, then taste and adjust if needed, and remove from heat when the beans are tender but still holding their shape, discarding the bay leaves before serving.
 Save to Pinterest
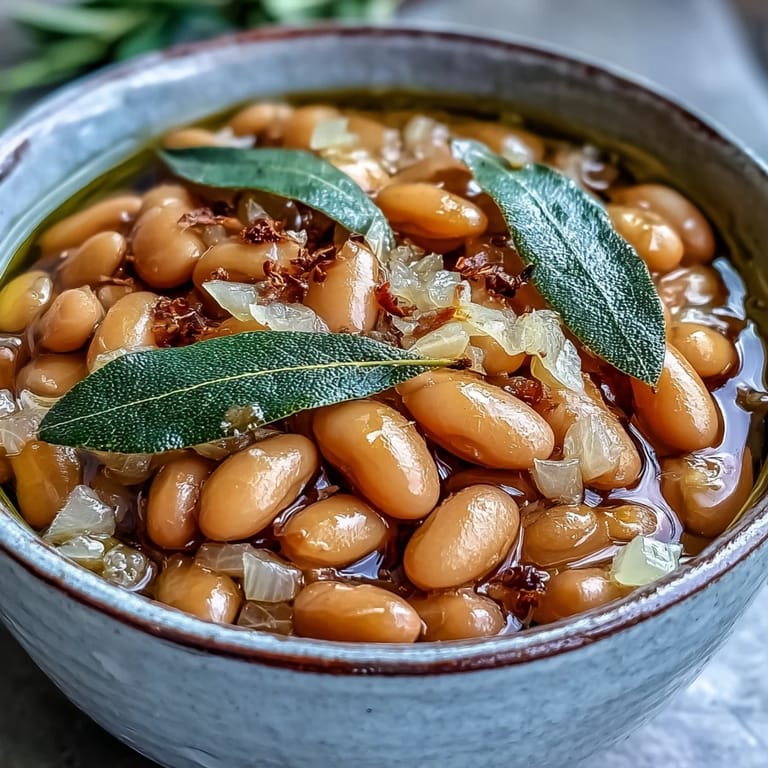
 These beans became my go-to contribution to potlucks after someone told me they were the best thing they'd ever eaten that wasn't smothered in cheese or bacon. Something about that simple, pure flavor lets people taste the care that went into the pot, and that's what cooking for others is really about.
Making Them Your Own
While this basic recipe is perfect on its own, I've found that adding a smoked ham hock or a couple of strips of bacon during simmering creates a depth that makes these beans unforgettable. Just remove the meat before serving and you're left with all that smoky goodness woven through every spoonful.
Storage and Reheating
These beans actually get better after a day or two in the refrigerator, as the flavors have time to meld and the broth thickens beautifully. Reheat them gently over low heat, adding a splash of water if they've thickened too much, and they'll taste just as good as the first day.
Serving Ideas
Beyond the obvious side dish role, these beans transform into the simplest refried beans when mashed in a skillet with a little oil and some of the reserved cooking liquid. They're also perfect as a base for chili, folded into breakfast burritos, or served over rice with some fresh salsa and avocado.
- Mash leftover beans and spread on toast for a satisfying vegetarian lunch
- Freeze in portion-sized containers for quick weeknight meal starters
- Use the creamy broth as a base for soup instead of water or stock
 Save to Pinterest
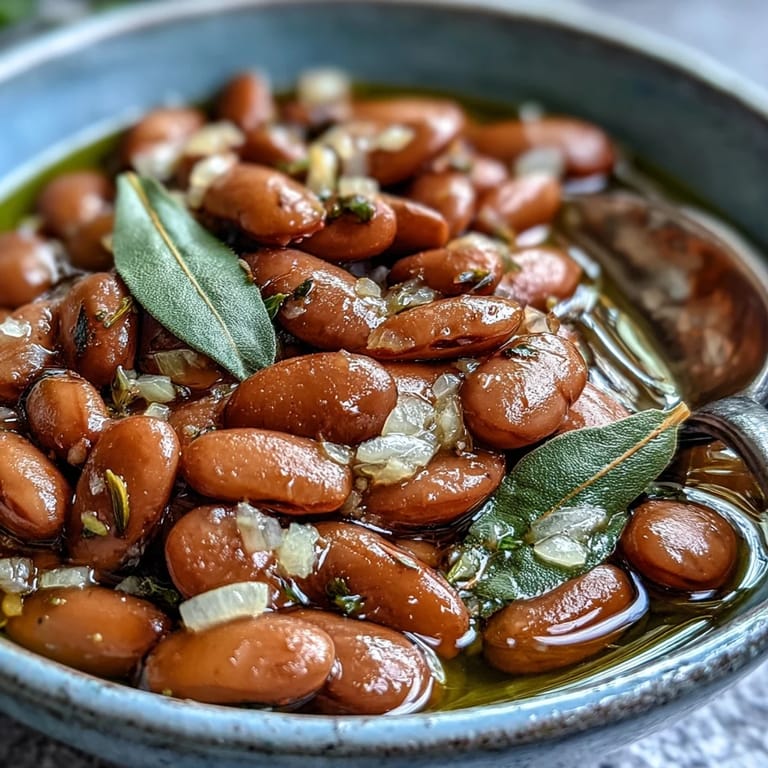
 There's something deeply satisfying about transforming dried beans into something so nourishing with so little effort. These pinto beans remind me that the best recipes are often the simplest ones.
Recipe FAQs
- → Do I really need to soak pinto beans overnight?
Yes, overnight soaking ensures even cooking and tender beans. The long soak hydrates the dried beans thoroughly, reducing cooking time and helping them cook uniformly. Quick soak methods exist but don't achieve quite the same texture.
- → Why add salt in the last 10 minutes of cooking?
Adding salt early can toughen bean skins and prevent proper softening. Waiting until the final 10 minutes seasons the beans thoroughly while ensuring they reach that perfect tender consistency without any toughness.
- → Can I freeze cooked pinto beans?
Absolutely. These beans freeze beautifully for up to 3 months. Cool them completely, transfer to freezer-safe containers with some cooking liquid, and thaw as needed. They reheat well on the stovetop or in the microwave.
- → What's the purpose of olive oil in the cooking liquid?
The olive oil adds richness and helps create a creamy texture. As the beans simmer, the oil emulsifies slightly with the starches released from the beans, creating a velvety coating and more luxurious mouthfeel.
- → How do I know when the beans are done cooking?
Perfectly cooked pinto beans should be tender enough to easily mash between your fingers but still hold their shape. Taste a few beans—they should be creamy throughout without any chalky or hard centers.
- → Can I make these in a slow cooker or pressure cooker?
Yes, both methods work well. For a slow cooker, cook on low for 6-8 hours after soaking. In a pressure cooker, soaked beans typically need 25-30 minutes under pressure. Adjust liquid accordingly and season after cooking.