 Save to Pinterest
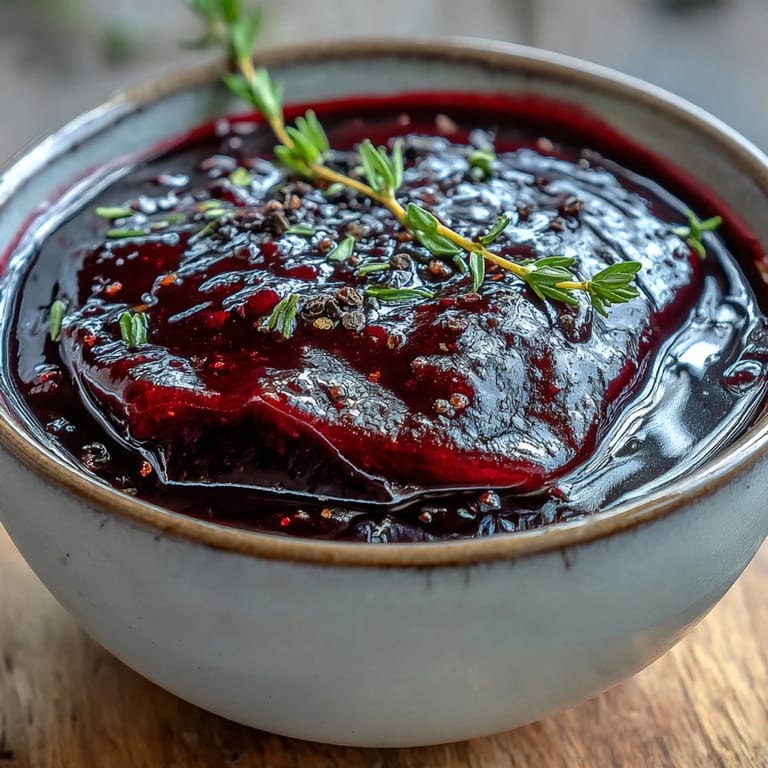
 My kitchen smelled like a European autumn the afternoon I discovered black currant glaze wasn't just for fancy restaurant plating. A friend had left a jar of black currant preserves on my counter with a cryptic note: try this on something you'd normally leave plain. That Sunday, roasting a ham for dinner, I decided to experiment, whisking together that deep purple jam with balsamic vinegar and mustard. The moment the glaze hit the oven, caramelizing into this glossy, mahogany shell, I understood why she'd left it there.
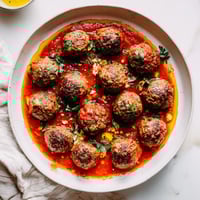
Years later, I made this glaze for a dinner party where the main protein fell through at the last minute. Instead of panicking, I grabbed what I had, threw together root vegetables, and brushed them with this glaze as they roasted. My guests spent the meal asking what I'd done to the carrots and parsnips, genuinely surprised that a vegetable side could steal focus from everything else on the plate.
Ingredients
- Black currant preserves: The star that gives this glaze its distinctive tartness and deep color, lending a sophistication that cheaper jam can't match.
- Balsamic vinegar: Its complex sweetness cuts through the jam's sugar, creating depth rather than cloying sweetness.
- Honey: A subtle sweetener that rounds out the sharp edges without announcing itself.
- Dijon mustard: This is the secret that makes people wonder what you did differently, adding a peppery edge that prevents the glaze from tasting like dessert.
- Unsalted butter: Melts into the mixture creating that crucial glossy sheen, important for both appearance and mouthfeel.
- Brown sugar: Builds body and helps the glaze cling to whatever you're coating.
- Fresh thyme leaves: Optional but worth it, especially if you're using this on poultry or vegetables where the herbal note feels natural.
- Ground black pepper: A whisper of heat that balances the sweet elements.
- Salt: Just a pinch to make everything sing.
Tired of Takeout? 🥡
Get 10 meals you can make faster than delivery arrives. Seriously.
One email. No spam. Unsubscribe anytime.
Instructions
- Gather and combine your base:
- In a small saucepan, add the black currant preserves, balsamic vinegar, honey, Dijon mustard, butter, and brown sugar. You'll notice how the ingredients look separated at first, like they shouldn't belong in the same pan.
- Melt it all together:
- Set the pan over medium heat and stir constantly until the butter disappears into the mixture and everything turns smooth and unified. This takes about 2 minutes and signals that you're on the right track.
- Season and add character:
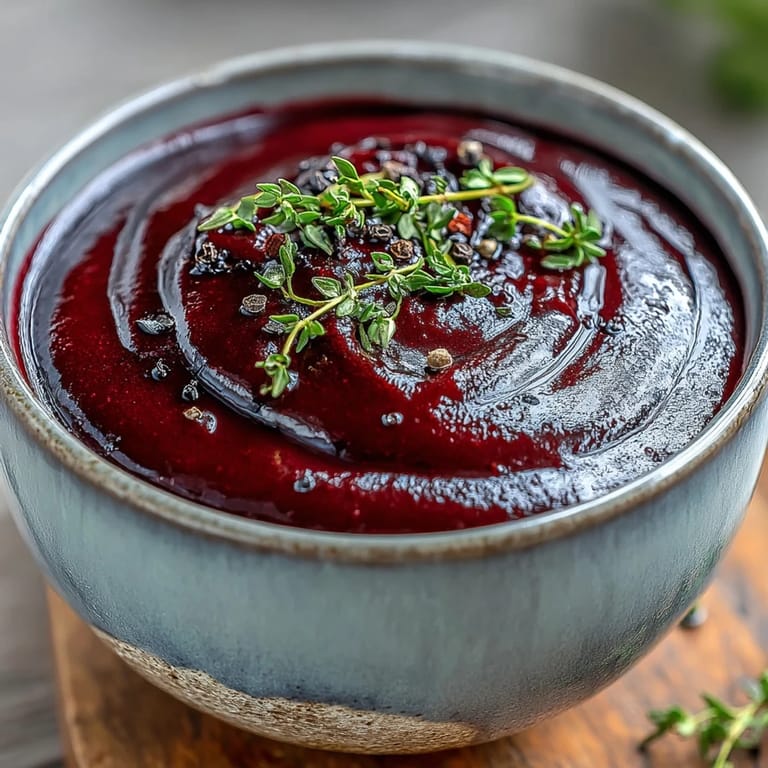
- Fold in the fresh thyme if you're using it, then add the black pepper and a pinch of salt. The glaze should smell noticeably more complex now, less one dimensional.
- Let it concentrate and thicken:
- Simmer gently for 5 to 7 minutes, stirring occasionally so nothing catches on the bottom. You're waiting for the glaze to darken slightly and develop that glossy, clingy consistency that clings to a spoon.
- Finish and deploy:
- Once it coats the back of a spoon without running off immediately, remove from heat and use immediately. Brush generously over roasting meats in the final 20 to 30 minutes of cooking, or serve alongside as a sauce.
 Save to Pinterest
 I'll never forget the Christmas when my usually critical aunt asked for the recipe, actually asked, mid bite of ham. That's when I realized this glaze had become something I'd made so many times it felt like muscle memory, but to everyone else it felt revelatory.
When to Use This Glaze
This works brilliantly on pork, especially ham where the salty, smoky notes play beautifully against the tart currant. Roasted chicken thighs benefit from the depth it adds, and I've brushed it on duck breast where the richness of the meat needs something equally assertive. Root vegetables become a vegetable side dish that steals the spotlight, something people actually remember eating hours later.
The Texture Question
Some people love the slight texture of the jam pieces suspended in the glaze; others find a strainer irresistible. There's no wrong answer here, though I'll confess that straining it through a fine mesh sieve makes it feel more refined, like something a restaurant would plate. The unseeded version clings differently, more sleekly, and dissolves slightly into any pan sauce you're making on the side.
Storage and Make Ahead Magic
This glaze keeps for a week in the refrigerator in a sealed jar, which means you can make it the night before a dinner party without any stress. Simply reheat gently over low heat, stirring occasionally, until it loosens back to brushable consistency. The flavors actually deepen as it sits, becoming more integrated and complex, so don't hesitate to make it days in advance.
- Leftovers work beautifully spread over cream cheese on a charcuterie board.
- Try thinning it slightly with a tablespoon of water if you want to use it as a dipping sauce for roasted vegetables.
- A spoonful stirred into plain yogurt creates an unexpectedly sophisticated breakfast companion.
 Save to Pinterest
 Making this glaze has become one of those quiet kitchen rituals that signals something special is happening, even when it's a simple Tuesday dinner. It reminds me that you don't need complicated techniques to elevate what's on the plate, just confidence and the right combination of flavors.
Recipe FAQs
- → What dishes pair best with black currant glaze?
This glaze complements roasted pork, glazed ham, duck, chicken, and root vegetables particularly well. The tart sweetness balances rich meats and adds depth to roasted vegetables.
- → Can I make this glaze ahead of time?
Yes, prepare the glaze up to a week in advance and store in a sealed jar in the refrigerator. Reheat gently before using to restore the glossy consistency.
- → What can I substitute for black currant preserves?
Red currant preserves or cherry preserves work well as alternatives, maintaining the tart-sweet balance needed for this glaze.
- → How do I achieve the smoothest texture?
For an ultra-smooth finish, strain the glaze through a fine mesh sieve after simmering to remove any fruit pieces or herb particles before applying.
- → When should I apply the glaze during cooking?
Brush over meats or vegetables during the last 20-30 minutes of cooking to allow the glaze to set without burning. For a fresher shine, apply immediately after removing from heat.