 Save to Pinterest
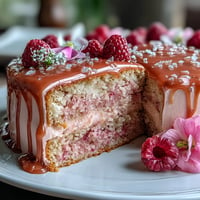
 The scent of rosé wafting through my kitchen surprised me the first time I made this cake—not too sweet, but quietly floral and cheerful. It was a rainy Saturday, and I pressed play on a playlist full of French pop just to set the mood. Measuring ingredients in my favorite worn apron, I caught myself grinning when the batter turned the prettiest pink after a single swirl of gel color. There’s something satisfyingly playful about baking a cake that looks like it belongs at a party before it’s even out of the oven. By the time the gold drip touched the chilled frosting, the gloomy weather was utterly forgotten.
I once made this rosé velvet cake for a close friend’s bridal shower, and we gathered in the sunniest corner of the house, each slice balanced on mismatched china. Laughter and frosting smears were traded as freely as toasts, and the cake became its own perfect centerpiece amidst a sea of pink balloons and heartfelt speeches. Watching strangers become friends over shared bites was the real magic. I realized then just how much beauty is folded into the rituals of celebration. The cake became tradition, living on in every photograph and story told afterward.
Ingredients
- Cake flour: Creates a delicate crumb—I find sifting it twice gives the cake a softer texture.
- Rosé wine: Choose a flavorful, dry non-sparkling rosé, as it brings subtle fruitiness and color.
- Unsalted butter and vegetable oil: The duo ensures the cake is both moist and rich without being heavy.
- Pink gel food coloring: Just a dot transforms the batter; add more for a bold blush, but a little goes a long way.
- Cream cheese: Softened to room temperature for the creamiest, lump-free frosting.
- White chocolate: Chopped finely so it melts smoothly for the drip; I’ve learned to avoid chips for best results.
- Edible gold luster dust: Mix with alcohol (not water) so it stays vibrant and doesn’t streak—a kitchen paintbrush makes all the difference.
Tired of Takeout? 🥡
Get 10 meals you can make faster than delivery arrives. Seriously.
One email. No spam. Unsubscribe anytime.
Instructions
- Prep the pans and ingredients:
- Grease and line your cake pans, and take a moment to assemble all measured ingredients nearby for a smooth start.
- Whisk dry ingredients:
- Sift the cake flour, baking powder, baking soda, and salt together; you'll smell the faintest hint of warmth from the flour.
- Cream fats and sugar:
- Beat butter, oil, and sugar until the mixture looks pale and fluffy—you’ll hear the beaters change pitch when it’s ready.
- Add eggs and flavorings:
- Crack eggs in one at a time, then mix in vanilla extract and vinegar until silky and cohesive.
- Combine with rosé:
- Alternate adding dry ingredients and rosé wine, stirring gently; pause to admire the color as you add gel pink if you like it brighter.
- Divide and bake:
- Spoon the batter evenly into pans, smooth tops, and bake until the cakes spring back to a light touch and a tester comes out clean.
- Cool completely:
- Let cakes cool in the pans briefly before turning out onto racks, resisting the urge to frost while still warm.
- Make cream cheese frosting:
- Beat cream cheese and butter until fluffy, then slowly add sugar; taste for sweetness and chill if too soft.
- Assemble and frost:
- Level cakes if needed, then layer with generous swoops of frosting, finishing with smooth sides and the dreamiest top swirl you can muster.
- Gold drip magic:
- Gently heat cream and white chocolate; after cooling slightly, let it drip down the edges of your chilled cake for that dramatic effect.
- Paint the gold:
- Mix gold luster dust with vodka or lemon extract and delicately brush over drips, feeling momentarily like a pastry artist.
 Save to Pinterest
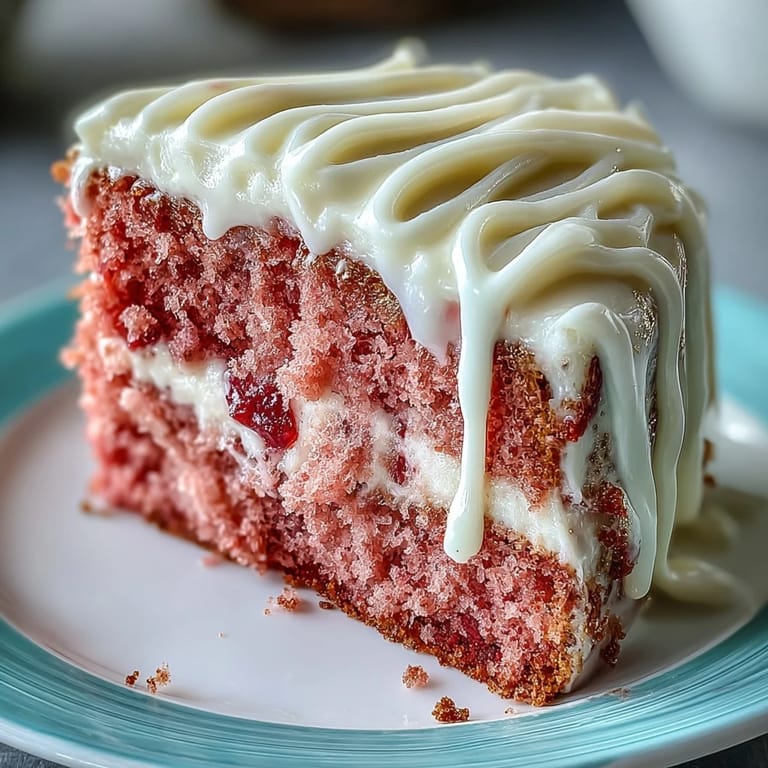
 The day I set the finished cake on our communal table, a hush fell for a moment—then phones flashed, laughter returned, and someone even sang a soft tune. In that moment, the cake wasn’t just dessert—it was memory, celebration, and joy blended in every bite.
Choosing the Perfect Rosé
After tasting a few, I’ve found that a dry rosé gives just enough fruitiness without making the cake overly sweet or floral. Don’t worry if yours is paler—the food coloring will help you match any bridal shower palette. Sometimes I taste the batter before baking, just to sneak a hint of how the wine comes through.
Make-Ahead Pointers for a Stress-Free Day
Whenever I’m prepping for a big event, baking the cake layers a day ahead and wrapping them well saves so much stress. The next day, assembling and decorating feels more like a treat than a chore. Frosting firms up beautifully if chilled, which gives cleaner, more satisfying swirls on the cake.
Serving and Storage Notes
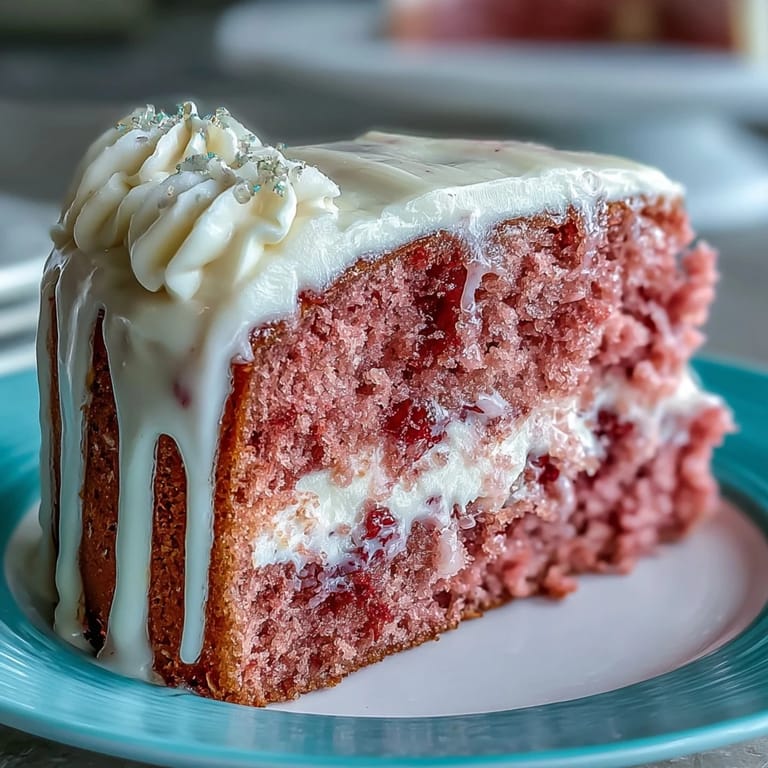
This cake truly shines when served just above room temperature—it lets the flavors open up, especially that delicate hint of rosé and tangy frosting.
- If you refrigerate overnight, let it sit out for 30 minutes before slicing.
- Leftovers store best in an airtight container, to keep the cake moist (if there are any left).
- Remember to check your gold luster dust for allergen info, especially for guests with sensitivities.
 Save to Pinterest
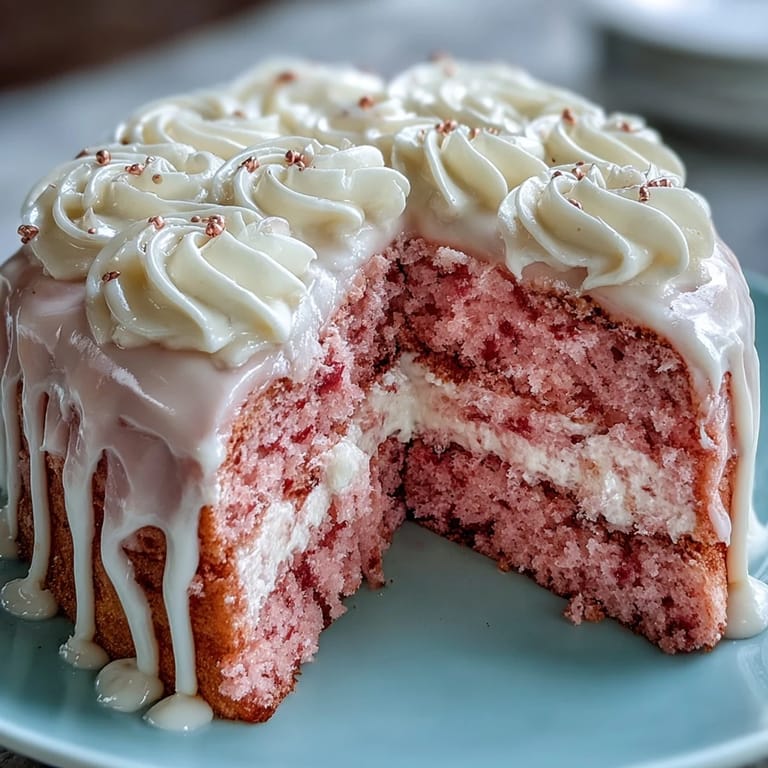
 May your celebrations always sparkle as much as this cake’s golden finish. Happy baking—and don’t forget to sneak yourself a second slice while you’re at it.
Recipe FAQs
- → Can I omit the alcohol and keep the same flavor?
Yes. Substitute equal parts pink grape juice plus a splash of lemon to mimic acidity and color while preserving structure and a bright finish.
- → How do I achieve a deeper pink hue without overmixing?
Use a concentrated gel food coloring and add a few drops at a time once wet and dry ingredients are combined; mix briefly until just uniform to avoid deflating the batter.
- → How can I get a smooth, stable cream cheese frosting?
Beat room-temperature cream cheese and butter until silky, then sift in powdered sugar gradually. Chill briefly before spreading to prevent sliding and ensure clean layers.
- → What ensures a steady gold drip that doesn’t run too far?
Cool the white-chocolate ganache until slightly thickened and work with a chilled cake. Apply drips while the drip mixture is still pourable but not hot, then refrigerate to set.
- → Is there a best technique for leveling and stacking layers?
Use a serrated knife or cake leveler to trim domes, place a layer on a turntable, add an even layer of frosting, and press gently to remove air pockets before stacking the next layer.
- → How should I store and serve the finished cake?
Refrigerate the frosted cake to keep the cream cheese firm; remove from the fridge 30–60 minutes before serving to allow the crumb to soften and flavors to bloom.