 Save to Pinterest
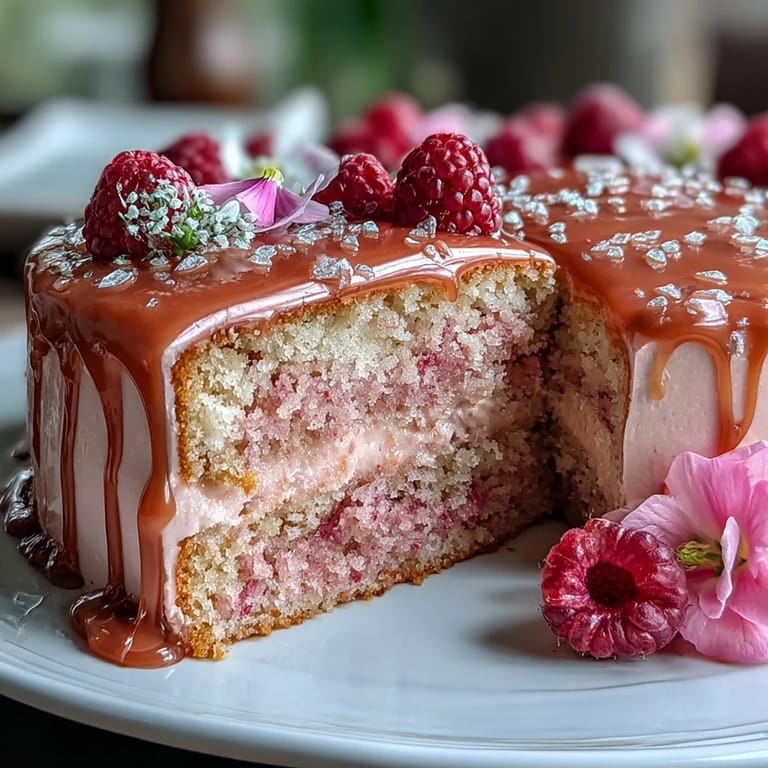
 The first time I made this Rosé Velvet Cake, I was alone in the kitchen with early spring light streaming through the window and my phone pinging with bridal shower group chat updates. I remember the sweet, floral scent of rosé lingering as I measured out the wine, feeling just a pinch mischievous pouring it into cake batter. My cat watched, utterly unimpressed, as I debated whether to go bold with the pink gel food coloring. The anticipation of watching the gold drip cascade down the frosted sides made me as giddy as the bride-to-be herself. There’s something irresistibly luxurious about transforming a classic dessert into a celebration centerpiece.
I’ll never forget racing against the clock to finish this cake just before the shower guests arrived, my hands lightly dusted with gold luster and my kitchen counter a flurry of edible flower petals. A friend peeked in, gasped at the shimmering drip, and declared I’d outdone myself. It was a cake reveal that genuinely felt like magic—glasses clinked, laughter bubbled, and even the groom-to-be swiped a second slice.
Ingredients
- All-purpose flour: Sifting helps keep the cake especially soft; measure gently for the perfect crumb.
- Cornstarch: A little secret for tenderness, making each slice cloud-light.
- Unsweetened cocoa powder: Just enough to deepen the pink and give a subtle earthy note without stealing the show.
- Baking soda: This keeps the cake airy and gives just enough lift.
- Salt: Don’t skip it; it sharpens flavors and cuts the sweetness.
- Unsalted butter: Creaming until fluffy ensures a delicate, melt-away texture every time.
- Granulated sugar: For that sweet, structured crumb we expect in velvet cakes.
- Light brown sugar: Adds a bit of warmth and softness to the finish.
- Eggs: Room temperature eggs blend in more smoothly—trust me, it really does matter here.
- Rosé wine: Choose one you’d love to drink; its character infuses every bite with floral notes.
- Buttermilk: Brings tenderness and the signature tang—let it come to room temp for the dreamiest batter.
- Vanilla extract: Rounds out all the flavors and enhances the aroma.
- Pink gel food coloring: This is totally optional, but one tiny drop makes the cake look as festive as it tastes.
- Cream cheese: The base of the frosting—soft, rich, and tangy—don’t rush softening it.
- Confectioners’ sugar: Sift it to avoid any lumps in your frosting, for velvet both inside and out.
- White chocolate chips: They melt to a silky ganache that sets up beautifully for dripping.
- Heavy cream: Smooths out the ganache, making it dreamy for those signature drips.
- Edible gold luster dust: This really is the showstopper—brush it on once the drip sets for a glimmering finish.
- Clear vodka or lemon extract: Just a few drops turn the luster dust into paint; don’t overdo it, a little goes far.
- Edible flowers or gold leaf (optional): These make the cake feel like true celebration—choose what inspires you.
Tired of Takeout? 🥡
Get 10 meals you can make faster than delivery arrives. Seriously.
One email. No spam. Unsubscribe anytime.
Instructions
- Get your pans ready:
- Preheat the oven to 350°F and grease three 8-inch round pans before lining them with parchment—no one wants a stuck cake at the big reveal!
- Mix the dry ingredients:
- Sift flour, cornstarch, cocoa, baking soda, and salt into a big mixing bowl, watching the powdery clouds settle evenly.
- Cream butter and sugars:
- Beat softened butter with both sugars until it’s light and fluffy—you’ll see the color pale to a lovely yellow as air works in.
- Add eggs and vanilla:
- Crack in eggs one by one, mixing well after each, then stir in vanilla; scrape down the bowl to catch any missed bits.
- Combine rosé and buttermilk:
- Mix rosé and buttermilk in a jug; the scent is instantly uplifting.
- Bring the batter together:
- On low speed, alternate adding the dry mixture and the rosé-buttermilk to the butter, starting and ending with the dry—just until mixed. Fold in pink gel coloring if you’re feeling bold.
- Bake the cakes:
- Divide the batter evenly between pans, smooth the tops, and bake for 28–32 minutes, checking with a toothpick for doneness. Let them cool in the pans for a bit before turning out on a wire rack to finish cooling.
- Make the frosting:
- Whip cream cheese and butter until smooth, then gradually blend in powdered sugar, vanilla, and salt—aim for a fluffy, spreadable consistency.
- Assemble the cake:
- Stack and fill with frosting between layers and around the sides, smoothing as you go. Chill the cake in the fridge for at least 30 minutes—it makes decorating so much easier.
- Drip the gold ganache:
- Melt white chocolate chips with cream over gentle heat, stirring smooth, then let cool a bit. Spoon it along the chilled cake’s top edges, watching the glossy drips slide perfectly down the sides; pop it back into the fridge to set.
- Paint the drip gold:
- Mix gold luster dust with a few drops of clear vodka or lemon extract, then brush the set drips with your mini paintbrush for instant glamour.
- Final touches:
- If you like, finish with delicate edible flowers or gold leaf—stand back and admire your work before slicing into it.
 Save to Pinterest
 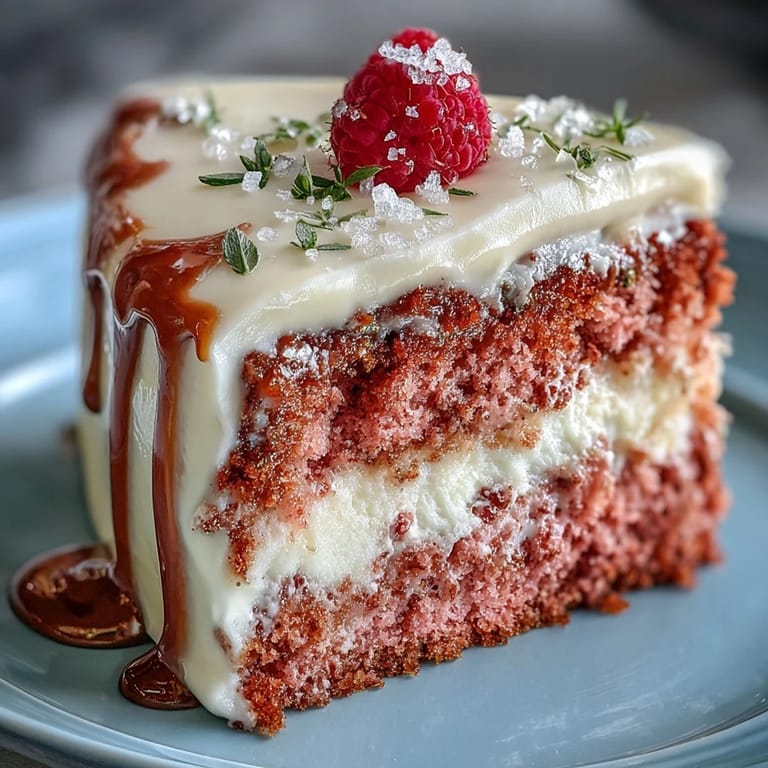 Save to Pinterest
 There was a moment, forks poised in the air, when our small crowd went silent at the first taste—then a chorus of happy sighs followed, the kind you only hear when something is genuinely special. That slice of cake, with its shimmering gold, became the unofficial centerpiece of the celebration photos and the happiest kind of memory.
Picking the Right Rosé for Baking
I learned quickly that the rosé you choose will make a real difference in the result—pick one that’s fruity but not too sweet. I’ve had the best luck with floral rosés that have just a whisper of berry notes, so the cake tastes vibrant instead of syrupy.
Troubleshooting Cream Cheese Frosting
If your frosting feels too loose to spread, a quick chill in the fridge works wonders and makes stacking much less stressful. On especially humid days, I sift in an extra tablespoon or two of powdered sugar to help it hold up under decorations.
All About That Gold Drip
The first time I tried painting on the gold, I got a little heavy handed and left streaks—but a delicate hand and a soft brush give the best shine every time. Patience is key, both for letting the ganache set and for gently brushing on the luster.
- Test your gold paint on a spoon first to check the color intensity.
- Keep the alcohol content low, or the gold might run.
- Don’t decorate until the cake is well chilled—it keeps everything crisp and picture perfect.
 Save to Pinterest
 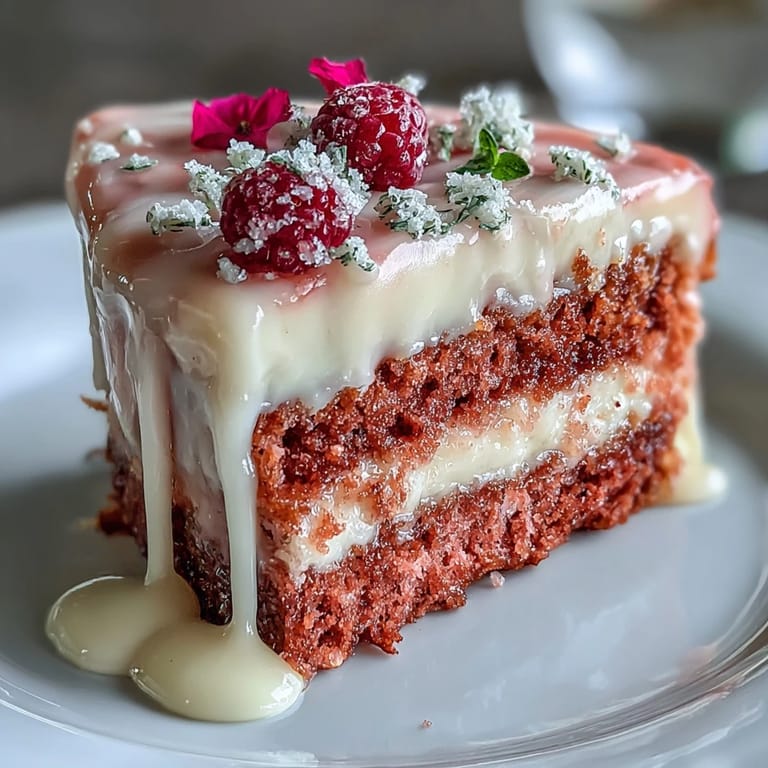 Save to Pinterest
 No matter how many cakes I bake, this rosé velvet creation always brings celebration and a little sparkle to the table. I hope you find just as many reasons to share it.
Recipe FAQs
- → Can I make a non-alcoholic version?
Yes. Substitute rosé with pink grape juice or sparkling cider at the same volume to keep the fruity note without alcohol; the liquid balance remains the same.
- → How do I get a consistent pink hue?
Use gel food coloring a drop at a time and mix thoroughly between additions. Gel gives richer color without thinning the batter; omit for a subtler natural blush.
- → How should I prepare the gold drip so it sets cleanly?
Warm white chocolate with cream until smooth, let cool slightly, then drip at fridge temperature so it sets quickly. Paint with edible gold luster once the drips are firm.
- → What type of rosé works best?
Choose a dry or off-dry rosé with bright berry and floral notes. Avoid overly tannic or heavily oaked styles; a light, fruity rosé enhances flavor without overpowering the batter.
- → Can I assemble the layers ahead of time?
Yes. Layer and crumb-coat the cake, then chill for at least 30 minutes before final frosting and decorating. Fully decorated cakes benefit from a short chill to firm the frosting before serving.
- → Any tips for frosting stability and texture?
Ensure cream cheese and butter are at room temperature and beat until smooth before adding sifted confectioners' sugar. Chill briefly if the frosting becomes too soft while assembling.