 Save to Pinterest
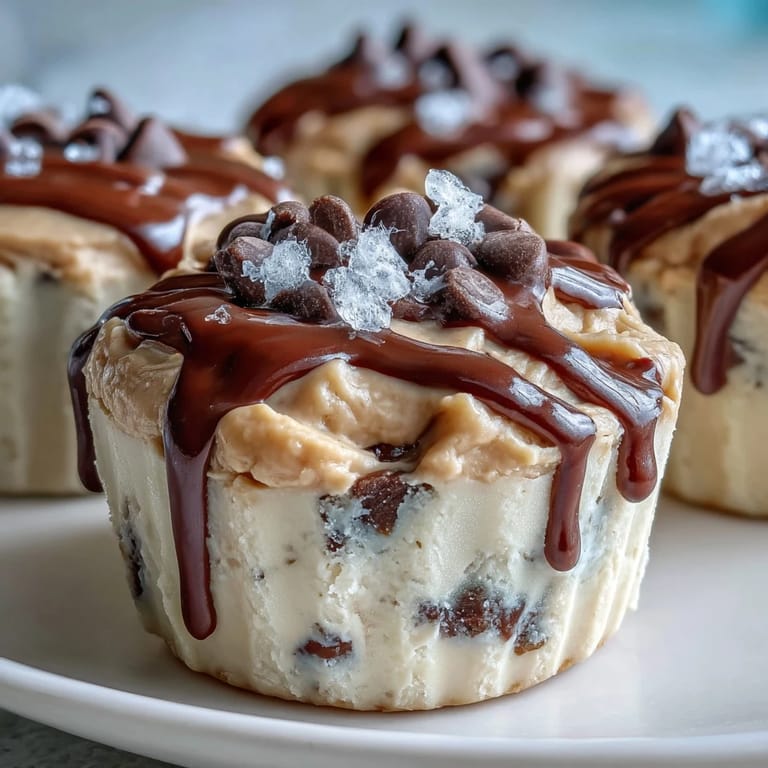
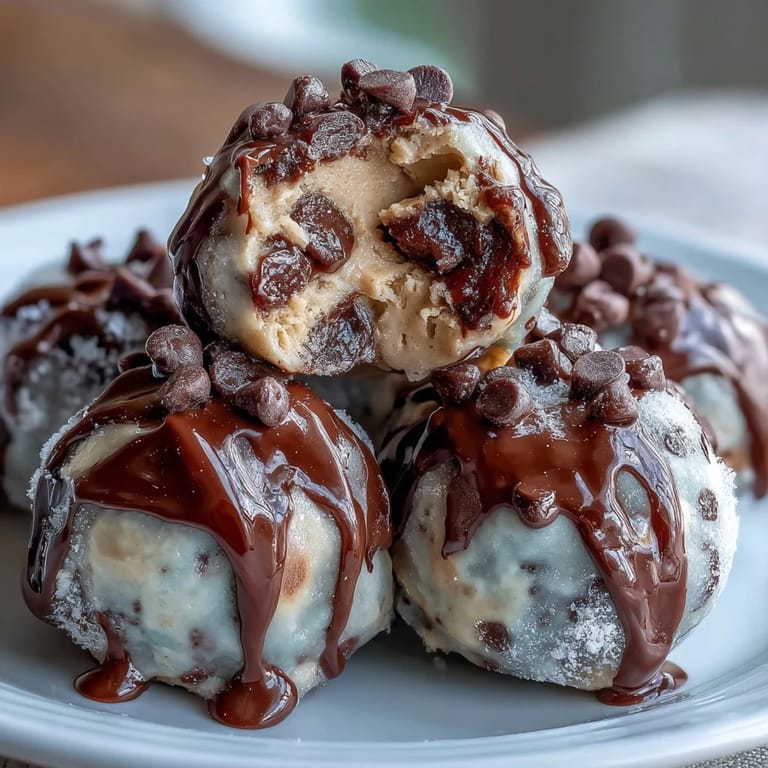
 My kitchen smelled like peanut butter and honey on a Tuesday afternoon when I realized I'd been stress-eating yogurt straight from the container—again. That's when it hit me: what if I stopped fighting the craving and just made it intentional? These frozen bites were born from that exact moment, a way to turn a guilty habit into something I could actually feel good about. They're ridiculously simple, endlessly customizable, and somehow taste like you spent way more effort than you actually did.
I made these for my sister's book club last month, and watching everyone reach for a second one while pretending they were being virtuous was genuinely hilarious. One person asked if they were store-bought because they couldn't believe something that creamy came from my freezer. I didn't correct her, mostly because I was too busy enjoying the compliment.
Ingredients
- Plain Greek yogurt (1 cup): Full-fat tastes richer, but low-fat works just fine—this is your base, so don't skip the quality part.
- Creamy natural peanut butter (½ cup): The good stuff without added oils or sugars actually tastes better and blends more smoothly than you'd expect.
- Honey (2 tablespoons): Just enough sweetness without making these cloyingly sweet—maple syrup swaps in beautifully if you're avoiding honey.
- Mini chocolate chips (2 tablespoons, optional): Dark chocolate changes everything here, adding richness that makes each bite feel indulgent.
- Chia seeds (1 tablespoon, optional): They add texture and a subtle nuttiness that pairs perfectly with peanut butter.
- Vanilla extract (½ teaspoon, optional): A tiny splash deepens the flavor without being obvious about it.
- Ground cinnamon (pinch, optional): Warmth that makes peanut butter taste even more like itself.
Tired of Takeout? 🥡
Get 10 meals you can make faster than delivery arrives. Seriously.
One email. No spam. Unsubscribe anytime.
Instructions
- Combine your base:
- Grab a bowl and whisk Greek yogurt, peanut butter, and honey together until smooth—you're looking for no streaks of peanut butter hiding in there. The mixture should feel light and spreadable, almost like soft serve consistency.
- Add your flavor layers:
- This is where you can get creative, so stir in vanilla and cinnamon if you're using them, or skip them entirely. Taste as you go because you're building something that should make you happy.
- Set up your molds:
- Line a mini-muffin tin with paper liners, or just use silicone molds if you have them—they're honestly the best investment for this recipe. Greasing isn't necessary but it does help when you're impatient to unmold things.
- Portion and fill:
- A tablespoon of mixture per cavity is your target, and don't stress about being perfect because these aren't fancy. They'll level out once frozen anyway.
- Crown them:
- Sprinkle chocolate chips, chia seeds, or whatever add-ins you're using right on top before freezing. If you're doing a chocolate swirl, drizzle it gently and use a toothpick to create that marbled effect that looks fancy but takes three seconds.
- Freeze into existence:
- Stick the whole tray in the freezer for at least two hours, though overnight is even better. You'll know they're ready when they're solid enough that you can't make an indent with your finger.
- Release and store:
- Run a little warm water over the back of the tin for a few seconds to help them pop out, then transfer to a freezer-safe bag or container. They'll keep for two weeks, though they never last that long at my house.
- Eat them properly:
- Straight from the freezer is perfect, but if you let them sit two minutes on the counter, the texture becomes almost creamy in a way that's hard to describe. Either way, you've already won.
 Save to Pinterest
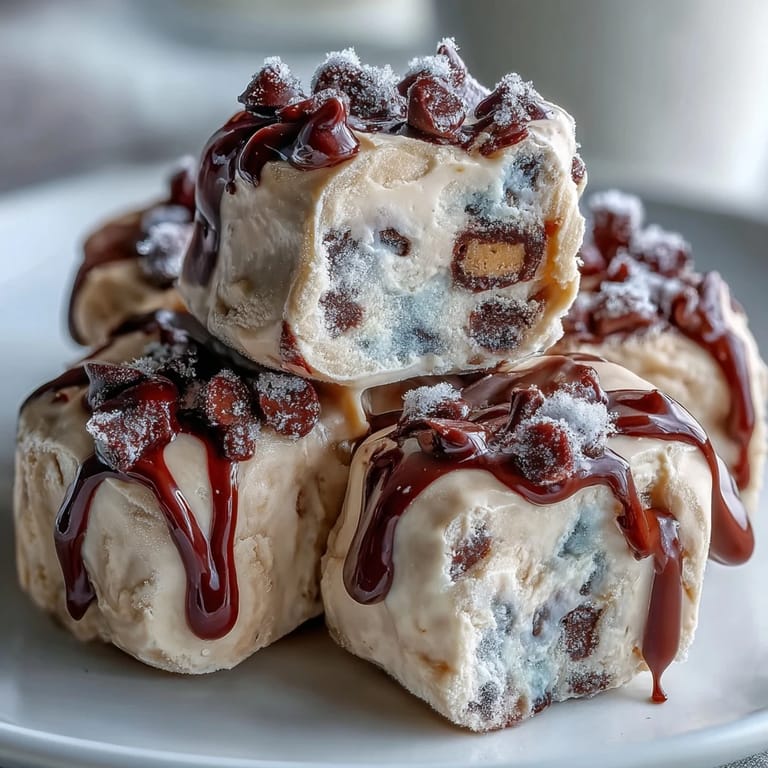
 My roommate found these in the freezer at 11 PM while looking for ice cream and declared them better than any dessert she'd bought in months. That moment—someone enjoying something you made without being asked—never gets old. These bites turned a random Tuesday afternoon into something I still make almost weekly now.
Flavor Combinations Worth Trying
The foundation is so forgiving that you can build almost anything on it and it works. Fold in mashed berries for a fruity moment, crush up some granola for texture, or swirl in a bit of melted dark chocolate for richness that feels fancy but costs practically nothing. I've done coconut flakes, crushed pretzels, and even a tiny drizzle of maple syrup on top—all of them felt special and none of them were accidents.
Storage and Make-Ahead Magic
These are basically the perfect make-ahead snack because they live happily in your freezer for two weeks in a sealed container. I like to make a big batch on Sunday when I'm not busy, portion them out, and then I have healthy snacking sorted for days. Some people grab them straight from the freezer, others let them thaw slightly—there's no wrong way, just different preferences.
Why These Matter More Than You'd Think
In a world where snacking often feels like choosing between guilt and deprivation, these bites exist in a better space entirely. They're protein-forward enough to be genuinely nourishing, they taste like a treat so you're not white-knuckling through cravings, and making them takes such minimal effort that you'll actually repeat it. The real magic is how something this simple becomes something you look forward to.
- Keep the mixture covered in the fridge if you're not freezing immediately—it stays fresh for three days.
- Double the batch and freeze half if you're making them for the first time, because you'll want backups.
- These pair beautifully with coffee, alongside fresh berries, or honestly just eaten straight because sometimes snacks don't need an excuse.
 Save to Pinterest
 These frozen bites have become my answer to 'what can I snack on that won't leave me feeling weird about it,' and honestly that might be the best thing a recipe can do. Make them once and they'll become a regular thing.
Recipe FAQs
- → Can I use other nut butters instead of peanut butter?
Yes, almond or cashew butter can be used for a different flavor profile while maintaining the creamy texture.
- → How long should the bites freeze before serving?
Freeze the bites for at least 2 hours or until completely solid to ensure the best texture.
- → Are there options to make these bites sweeter or more indulgent?
You can add honey or maple syrup to adjust sweetness and drizzle melted dark chocolate for a richer treat.
- → Can I add fruit or seeds to enhance the flavor?
Yes, mashed berries, chia seeds, or nuts can be folded in to add natural sweetness, crunch, and nutrients.
- → What’s the best way to store these frozen bites?
Store them in a freezer-safe container or bag for up to two weeks to keep them fresh and ready to enjoy.