 Save to Pinterest
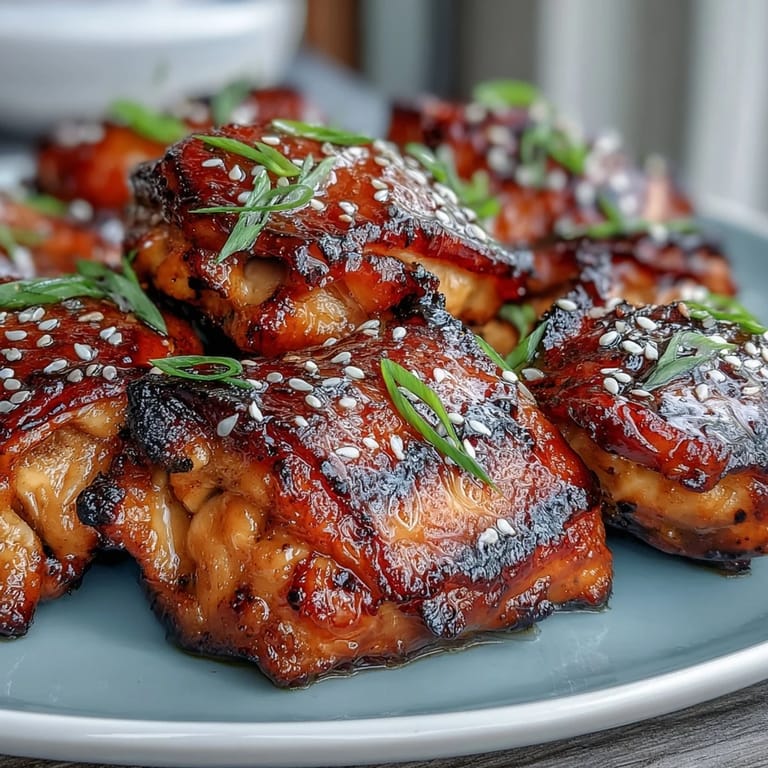
 Some nights, the craving for something sticky, savory, and quietly impressive takes over and sends me straight to my stash of chicken thighs and soy sauce. The scent that builds as this glaze bubbles—a little sweet, a little edgy from ginger—sends the dog wandering hopefully into the kitchen every time. I’ve lost track of how many times I’ve nearly licked the spoon after first tasting that glossy sauce. This dish doesn’t require any special occasion, but always feels a bit like one anyway.
I made these sticky chicken thighs for a midweek dinner when a friend was visiting, and conversation paused completely as the aroma drifted from the oven. The laughter over clattering chopsticks and second helpings made it clear I should double the batch next time.
Ingredients
- Chicken thighs: Bone-in and skin-on adds juicy flavor and crisp skin—pat them dry to get that ideal golden finish.
- Soy sauce: Go for regular if you love bold saltiness or opt for low-sodium if you want a bit more control.
- Honey: This brings the glossy stickiness; don’t swap for sugar or you’ll miss the shiny finish.
- Rice vinegar: Adds just the right tang to balance the sweetness—don’t skip it.
- Brown sugar: Gives depth and richness—lightly packed, or it can get overpowering.
- Sesame oil: Stir in at the end of the glaze for that toasty aroma that always reminds me of takeout nights.
- Garlic and ginger: Mince and grate them fresh—jarred just doesn’t have the same punch.
- Cornstarch and water: This quick slurry thickens the glaze to syrupy perfection—stir it well or it clumps.
- Sesame seeds and green onions: Not essential, but they add crunch and color that always make the serving platter look special.
Tired of Takeout? 🥡
Get 10 meals you can make faster than delivery arrives. Seriously.
One email. No spam. Unsubscribe anytime.
Instructions
- Heat Up the Oven:
- Set your oven to 400°F (200°C) and line a baking tray with foil or parchment to avoid a sticky aftermath.
- Prep the Chicken:
- Dry the chicken thighs thoroughly, then season both sides with salt and pepper before laying them skin side up on the tray.
- Make the Glaze:
- Combine soy sauce, honey, rice vinegar, brown sugar, sesame oil, garlic, and ginger in a small saucepan and bring just to a bubbling simmer with gentle stirring.
- Thicken the Sauce:
- Blend cornstarch and water into a smooth paste, whisk it into the pan, and simmer until the glaze turns thick and shiny.
- First Glaze:
- Generously brush half the warm glaze over every thigh, making sure to coat all the nooks and crannies.
- Bake and Baste:
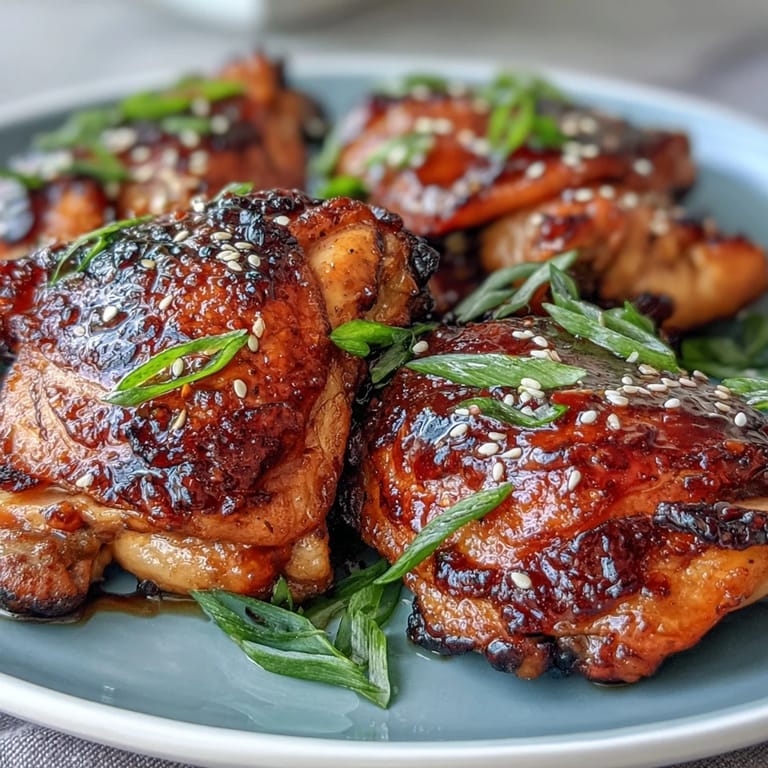
- Bake chicken for 25 minutes, brush with the remaining glaze, and finish baking another 10 minutes until the skin is sticky and deliciously caramelized.
- Serve and Garnish:
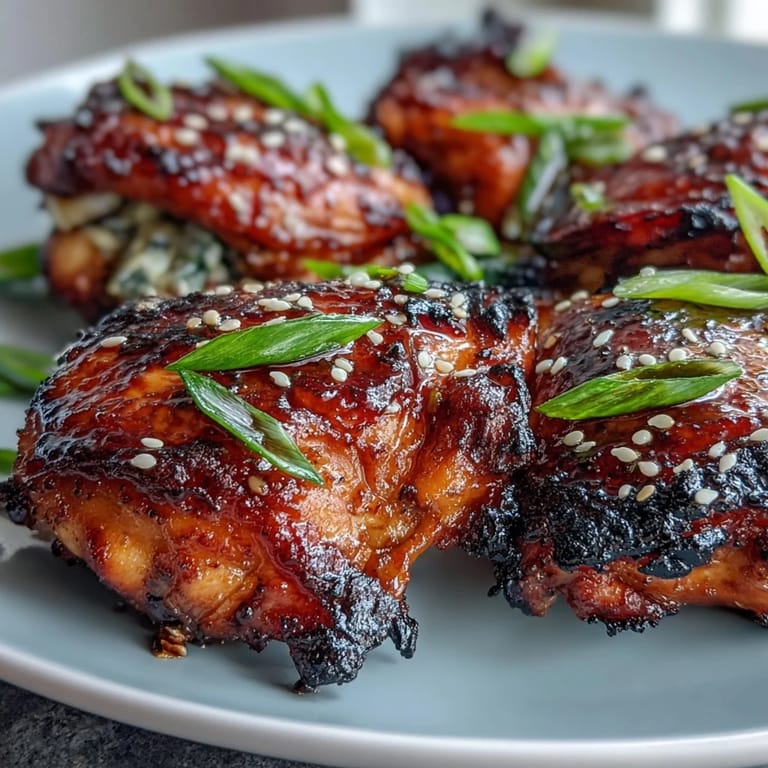
- Move the chicken to a platter and sprinkle with sesame seeds and green onions as the final flourish—ready for the table.
 Save to Pinterest
 The best part was watching my partner drag every last piece of chicken through the sticky puddles left behind—silence speaks volumes in the kitchen sometimes.
Simple Serving Upgrades
There’s a real joy in scattering vibrant green onions and sesame seeds over the finished chicken—it’s almost meditative. Sauteed greens or hot jasmine rice soak up the extra glaze and manage to be as exciting as the main event. Some nights I’ll add quick-pickled cucumbers for crunch, but even leftover veggies work wonders as sides.
Swap and Save Solutions
If you ever run out of chicken thighs, boneless pieces or even drumsticks make this just as good—just trim a few minutes off baking for smaller cuts. I once swapped in maple syrup for honey by accident, and while different, the batch still vanished. What matters most is that sticky-sweet glaze over crispy skin, not strict ingredient loyalty.
Troubleshooting Common Glaze Snafus
If the glaze ends up too thin, return it to the heat for just one more minute until it's thick enough to coat a spoon. If it gets too thick, whisk in a splash of water while it's still warm to smooth it right out. A brush that sheds bristles can really dampen the fun—switch to a silicone one if yours is fussy.
- Broil the chicken for 2 minutes if you want deeply caramelized skin.
- Lining the tray saves you tons of clean-up time.
- Scatter green onions across just before serving so they stay crisp.
 Save to Pinterest
 No matter how many times you make this, it still feels a little special coming out of the oven—here’s to quiet wins and sticky fingers at your table.
Recipe FAQs
- → Can I use boneless thighs instead of bone-in?
Yes. Boneless thighs will cook faster—reduce the second bake by 5–10 minutes and check internal temperature. They still take on the glaze well but may yield less caramelized skin.
- → How do I make the glaze thicker?
Mix cornstarch with cold water to make a slurry and simmer into the glaze until glossy and slightly thickened. Reduce the glaze gently to concentrate flavors without burning.
- → Is broiling necessary for extra caramelization?
Broiling for 2–3 minutes at the end can deepen caramelization—watch closely to avoid burning because the glaze sugars brown quickly.
- → What internal temperature indicates doneness?
Cook until the thickest part of the thigh reaches 175°F (80°C) for fully cooked, tender meat with rendered fat and sticky skin.
- → Any allergen or substitution tips?
The glaze contains soy and sesame. Use coconut aminos for a soy-free option and omit sesame seeds/oil for sesame-free needs; adjust salt accordingly.
- → How should leftovers be stored and reheated?
Cool, refrigerate in an airtight container up to 3 days. Reheat in a hot oven or skillet to revive the skin; add a splash of glaze or warm sauce to refresh the coating.